


Given the incredibly cold winter we had in the 2014 Northern Hemisphere, I have put together a how-to guide for assembling a cat habitat. They’re inexpensive, easy to make, and will shelter stray and outdoor cats from the worst of the cold and wind, as well as be waterproof and surprisingly durable…
What You Will Need:
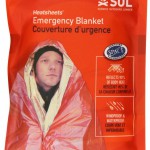
Polyethylene Blanket
Found with camping supplies in sporting goods stores. You can use mylar emergency blankets as well, but the polyethylene is far sturdier (mylar tears if you look at it the wrong way).
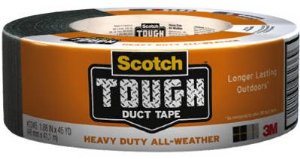
Outdoor/Waterproof Duct Tape
Hardware stores have it—Gorilla tape will also do. I only use this on the outside of the box, and use sturdy packing tape for lining the inside with the insulation. Duct tape can be used inside the box but the packing tape is cheaper and doesn’t give off the fumes that the duct tape does.
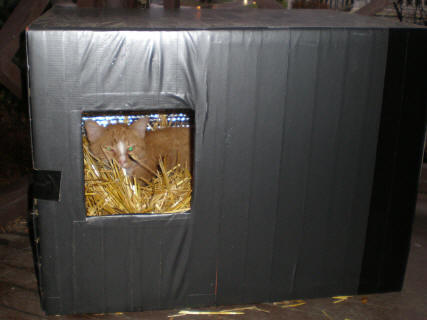
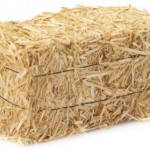
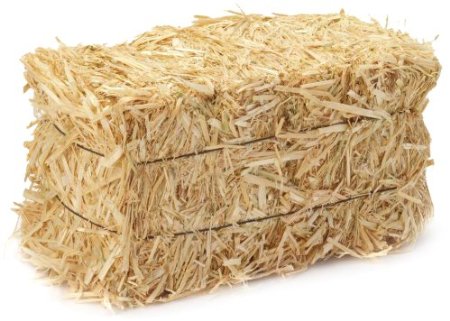
A Good Old-Fashioned Bale of Straw
We got ours at CountryMax. DO NOT USE HAY, BLANKETS, TOWELS, etc. These are dangerous. They retain moisture and can draw body heat away from the cat, freeze, and eventually mildew.
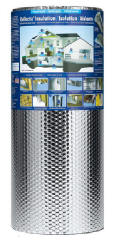
“Reflectix” Double Reflective Insulation Roll
Found in hardware stores—the 24” height roll is the perfect size.
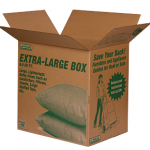
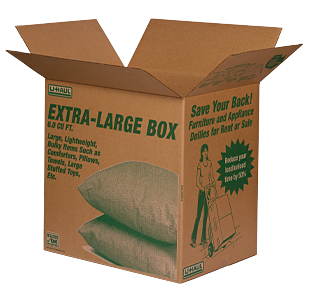
Big Ol’ Box
U-Haul’s “large” (18″ x 18″ x 24″) box is perfect for a single cat. They also have a number of options for going bigger.
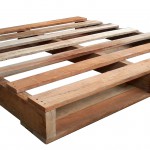
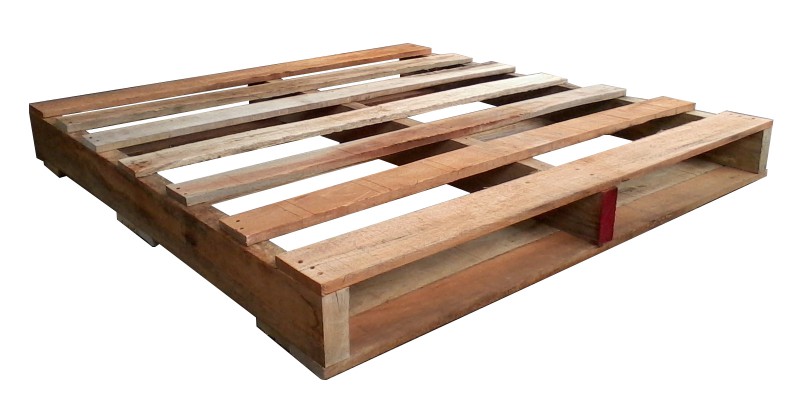
Wooden Pallet
These are inexpensive and are optional depending on where you put the habitat. Anyplace where the ground will get wet, these are fantastic to have. They sold us ours at CountryMax.
Scissors
Box Cutter/Utility Knife
-
- Polyethylene Blanket
-

- Duct Tape
-
- Bale of Straw
-

- Reflectix Insulation Roll
-
- Large Box
-
- Wooden Pallet
Assembly
- Start by assembling the box, but only seal up one side. Cut a piece of the Reflectix to size for the inner sealed end of the box, and crawl in to tape down all the edges with packing tape.
- Tape insulation up against the four inside walls of the box—I do it in one continuous sheet, unrolling as I go around the box (it’s a lot easier than cutting and taping an individual piece for each side). Then all that’s left is the flaps of the unsealed end. Trim and tape insulation for two of the flaps. When you close the box later on, fold in the insulated flaps first so that all six inner sides of the box will have Reflectix.
- After the inside is lined, gift-wrap the whole box in the polyethylene sheeting, using duct tape and making sure there is no cardboard exposed. I try to make it so that there is absolutely no exposed cardboard left anywhere on the box, inside or out, for maximum moisture-proofing.
- For our habitats, I make one side of the box reopen-able so that we can easily change the straw later on, but that’s optional. To make one side reopen-able, all I do is tape the dickens out of every surface that the closure tape will touch. If you tape over all the surfaces to which the closure tape will be applied, the closure tape comes off again with no problem.
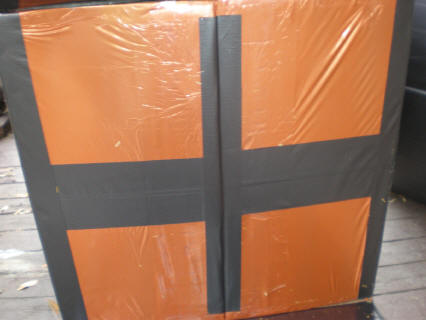

- For the habitats in the garage, the camping sheet wrapping is sufficient protection. For habitats more exposed to the elements, I completely cover every surface of the box with a layer of waterproof duct tape on top of the camping sheet. Even then it’s a good idea to put them someplace sheltered if you can.
- Off to the side, cut an entrance just big enough for the cat and seal over the exposed edges of the insulation and cardboard with more duct tape.
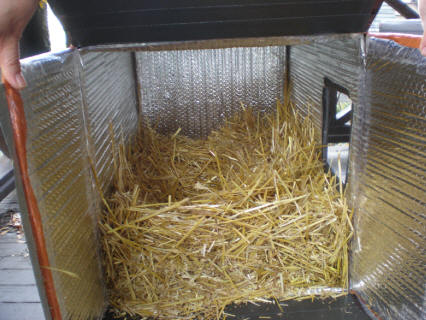
- If you’re so inclined, toss a handful of catnip in for good measure, and seal up the open end of the box (if you haven’t already). Voila!